Log in (mobile-csp.org/admin) and go into a content page (Content) or start a new Basic Page (Content, Add Content).
Click on the Edit tab of the page.
Click on the Image icon in the toolbar at the top of the editing window.
Click on the Browse Server button in the image window.
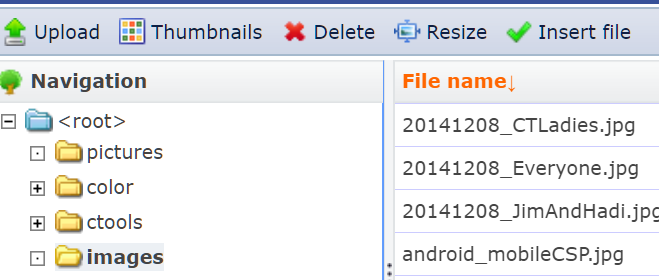
Click on the Images folder on the left and then the Upload button at the top of the File browser window and choose an image file to upload.
Then click on the Insert File (green checkmark) button in the File browser to insert that image into the web page.
Adjust its width and height properties and click on Ok. You can get back to this image properties window by right clicking on an image in your web page.
If the HTML isn't quite right on your page, click on the Source icon in the toolbar at the top and edit the html directly.
Another way to add images is to use the Image area at the bottom of the editing page, where you can choose a file and upload. You can now click on the Insert button there to insert the image directly into the document.
 in the toolbar at the top of the editing window.